Glazing Bars & Finishing Up
8.1 Glazing bars are supplied as 10m bar lengths (2x5m) with 13m tape - the tape will need to be bonded to the lengths of the bar
8.2 Once the glass is fully installed, ensure the glass is clean (we recommend using a saline solution or glass primer)
8.3 Measure the gap between glass divides and cut the glazing bars to suit
8.4 Clean the underside of the glazing bar using a saline solution or primer
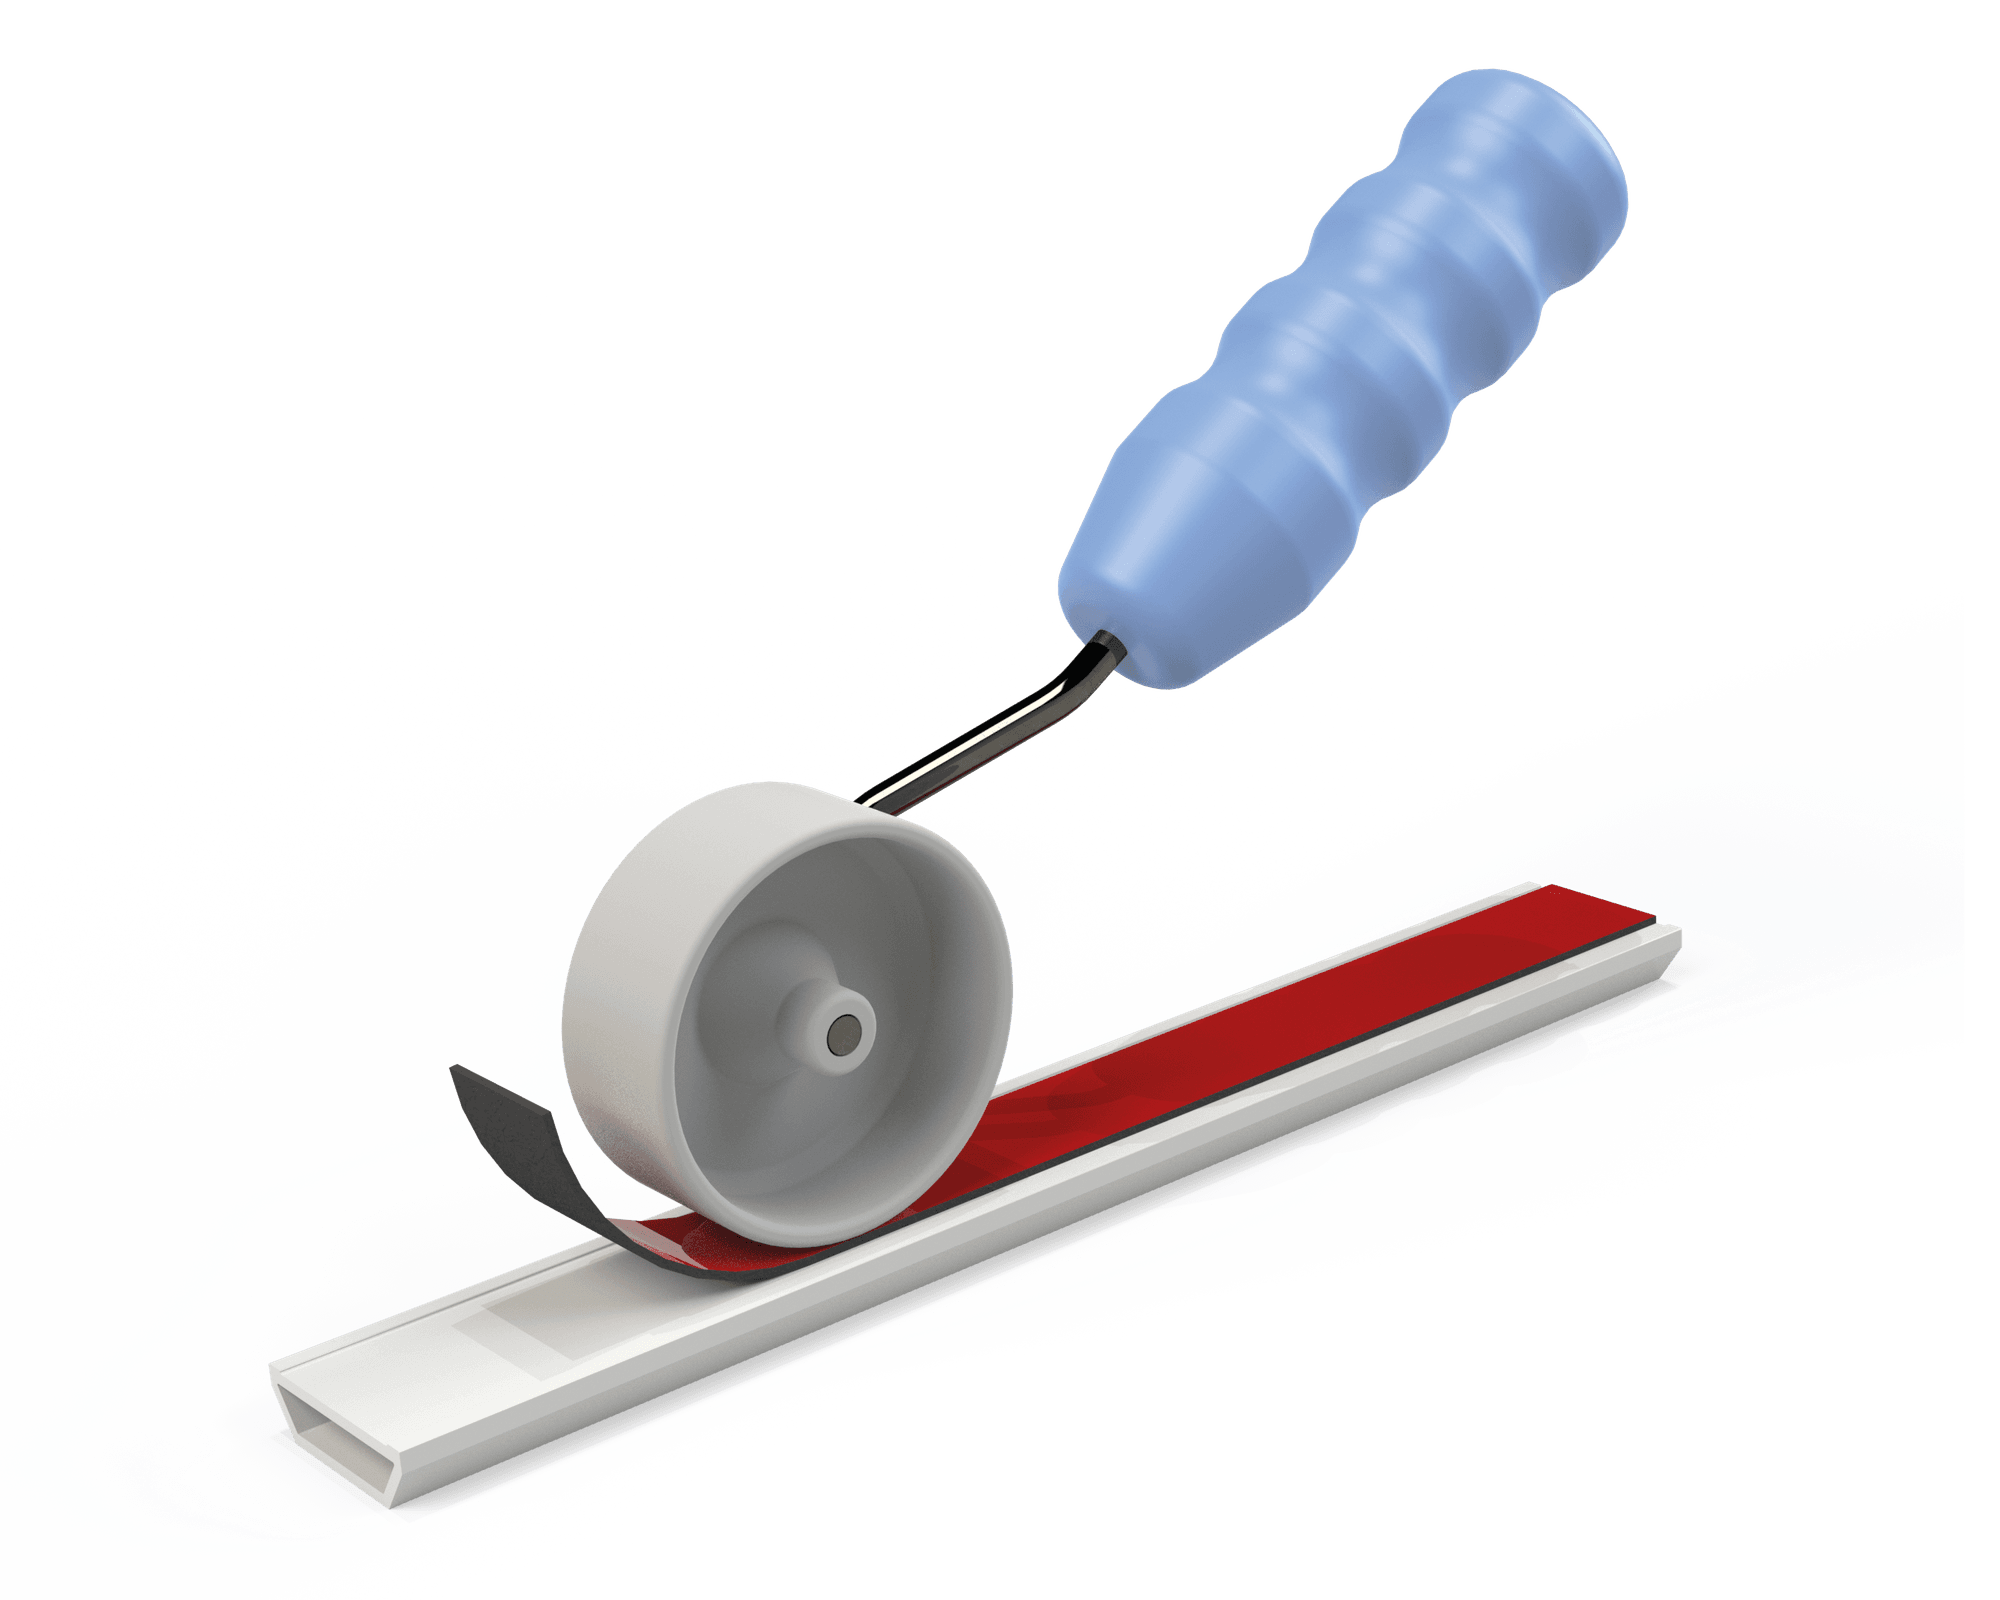
8.5 Place tape on the underside of the glazing bar, ensuring it remains central along the bar (we recommend that a roller is used for this to ensure strongest bond)
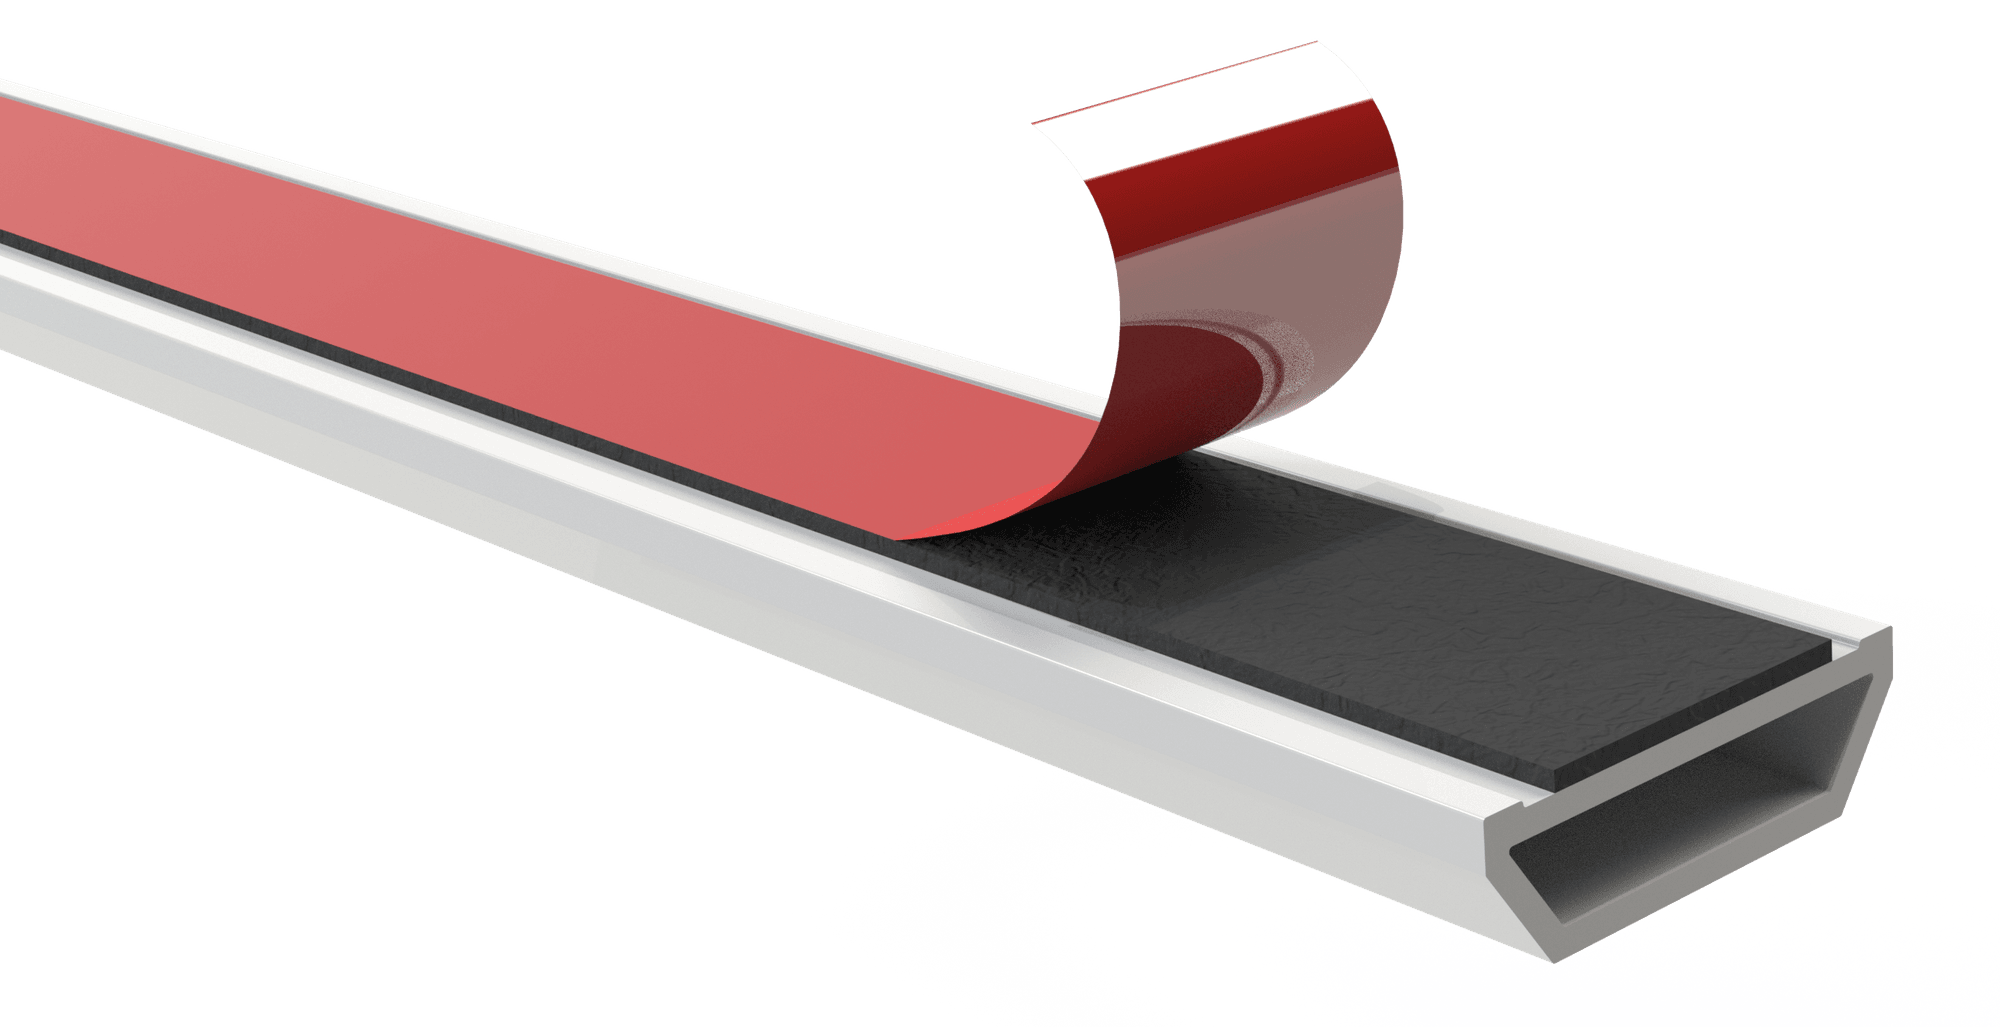
8.6 Before removing the red backing, offer the bars up to the glass and check for size, trim as required
8.7 Remove red backing of the tape and press bar firmly onto the glass
8.7 Insert cover trims into Tracks and Jambs (if applicable) - if flush stacking fit the Jamb cover with the holes on the Jamb that the flush stacking door opens on to
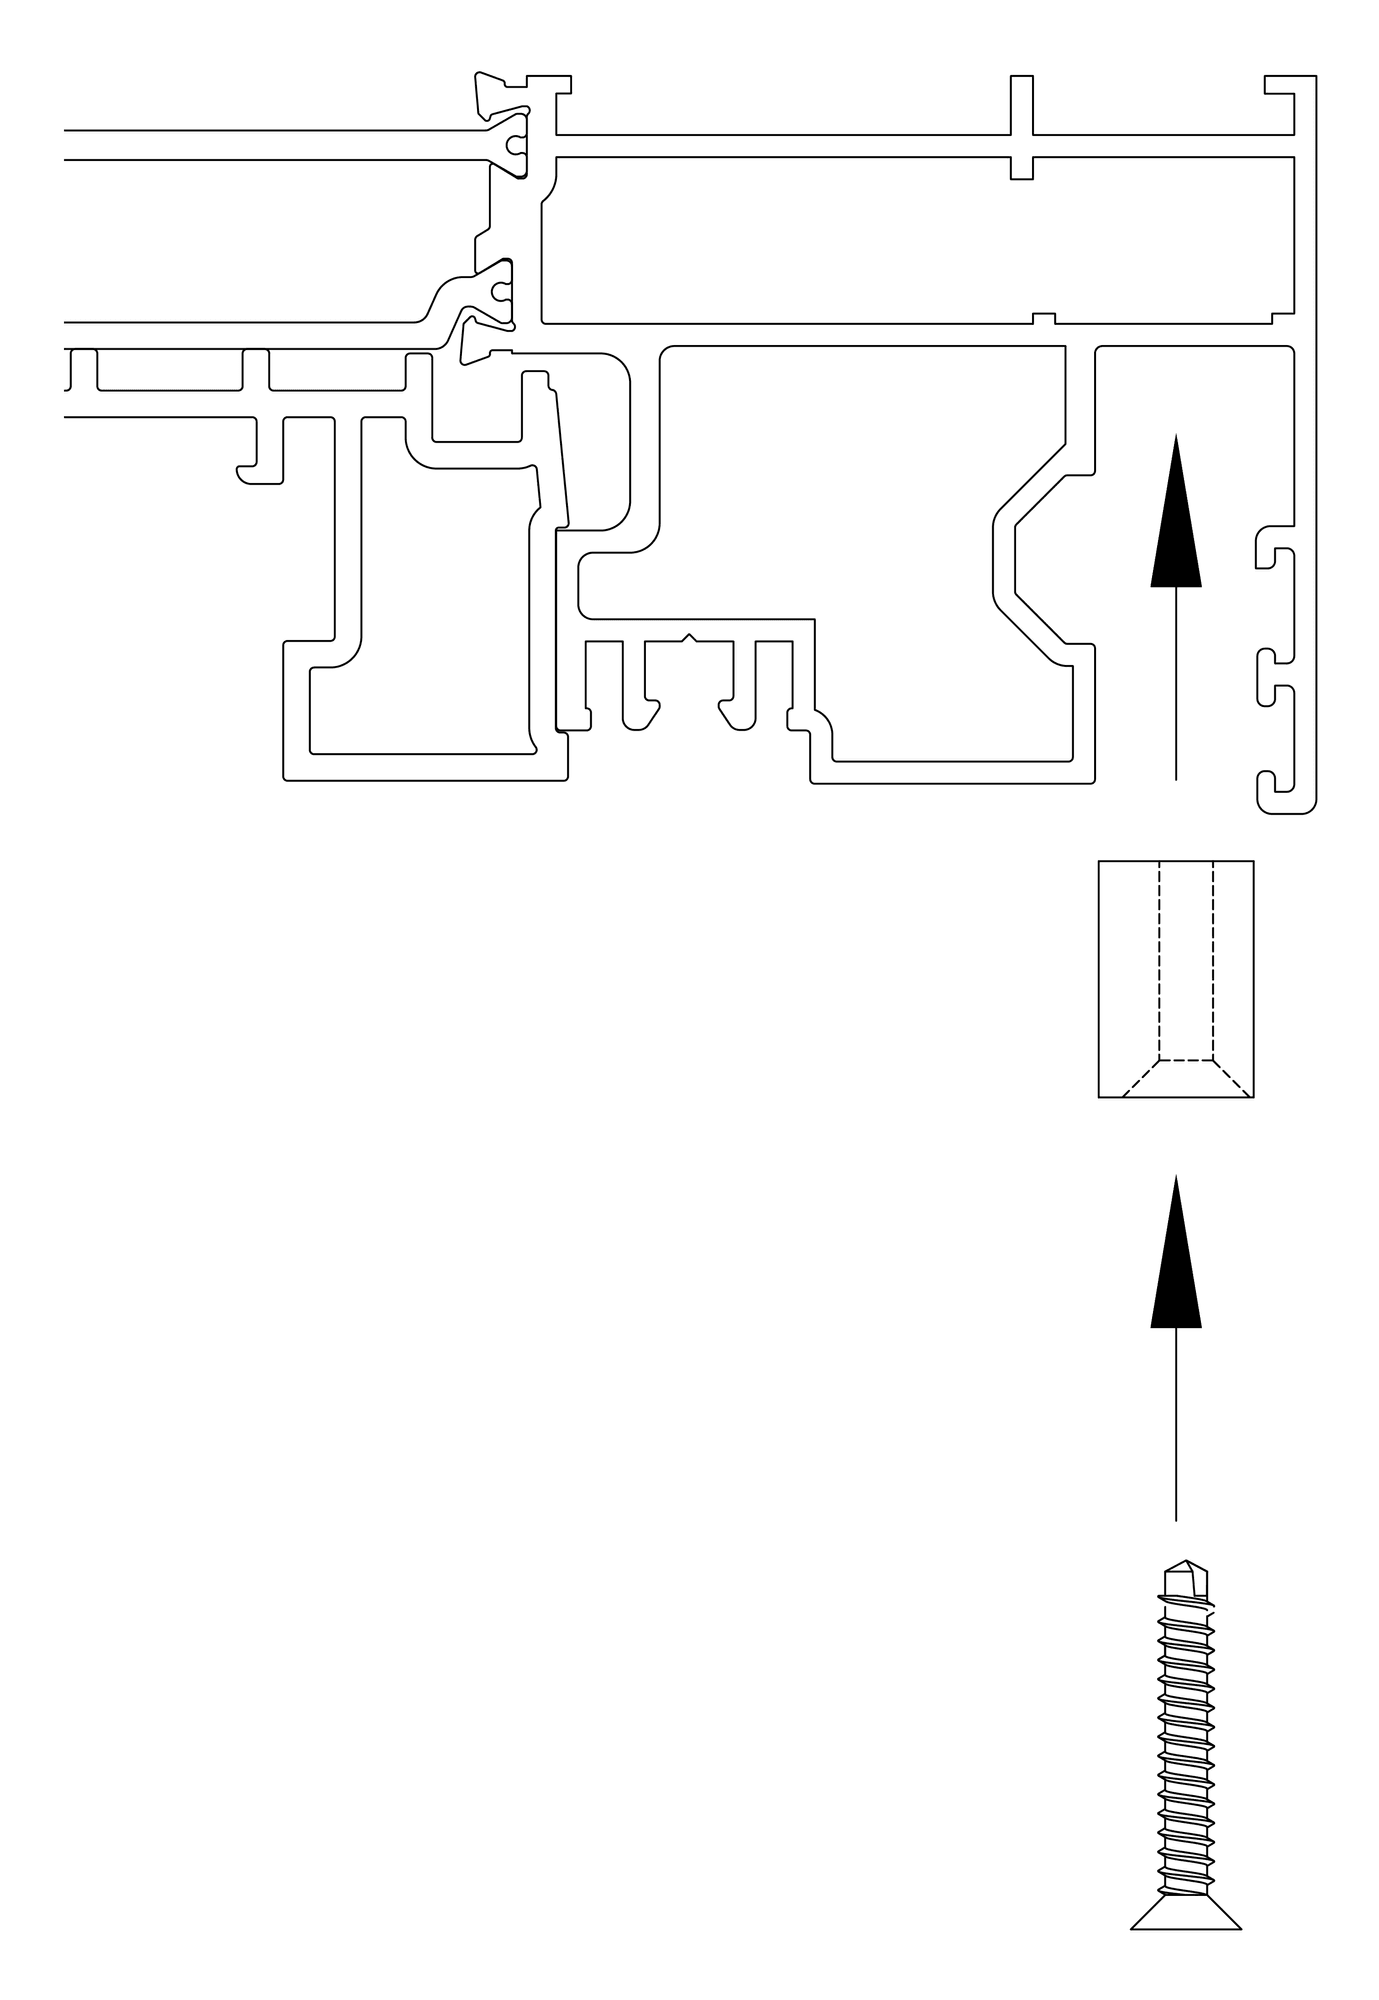
8.8 Position cap at end of interlock and screw to the pre-drilled holes and clip metal cover cap onto the end cap
8.9 For 4 and 6 pane doors, end Caps need to be fitted to the top and bottom of the slave door to close the gap where the sliding doors meet
8.10 With the doors closed, mark the track (non-permanent mark)150mm in from each side of each sash - slide open the door and fix the anti-lift blocks into position, in line with the previously made marks (FIG 8A & 8B)
8.11 Open the locking sash to the fully open position (being careful to allow space for the operator's fingers between the handle and interlock) - locate the door stops on the bottom and top of the sash and fix into place using the supplied screws
8.12 For flush stacking doors fit the bump stops to the predrilled holes in the Jamb covers